
DIY Vertical Gardens for Small Spaces
It started with one basil plant. Then a mint. Then a tomato in a pot because I thought, “How hard could it be?” Before I knew it, my little balcony looked less like a charming urban oasis and more like a plant parking lot. Pots were everywhere. I could barely step outside without bumping into a container.
That’s when I realized the problem wasn’t that I had too many plants, it was that I was using space all wrong.
Instead of growing out, I needed to grow up. Enter: vertical gardening. Once I shifted my thinking, my tiny balcony transformed. What used to feel cramped now feels lush and intentional, like a green wall of herbs and veggies just waiting for me to snip and enjoy.
And here’s the best part: you don’t need a big yard, a greenhouse to make this work. If you’ve got a wall, a railing, or a sunny corner, you can build a vertical garden. Here’s how to do it step by step.

Why Vertical Gardens Are Perfect for Small Spaces
When you’re limited on square footage, vertical gardening is a total game-changer. Instead of spreading plants across every flat surface, you take advantage of walls, fences, and vertical structures you already have. Think of it as stacking your plants like books on a shelf.
The perks is You save floor space, your plants are easier to reach, and you end up with a garden that doubles as home décor. A blank wall turns into a living piece of art. A balcony railing becomes a strawberry patch. Even a tiny kitchen corner can host a pocket herb garden.
Step 1: Pick Your Spot 🌞
First, decide where your vertical garden will live. Outdoors, you can use a balcony wall, fence, or even the side of a shed. Indoors, think kitchen backsplashes, sunny windows, or an empty wall that could use some love. Just pay attention to light. Most herbs and vegetables want 6–8 hours of sunlight, while leafy greens and many houseplants can get by with less.
Step 2: Choose a Vertical Garden Style
There’s no single way to do this, which is what makes vertical gardening fun. You can go simple or get creative depending on your space and budget.
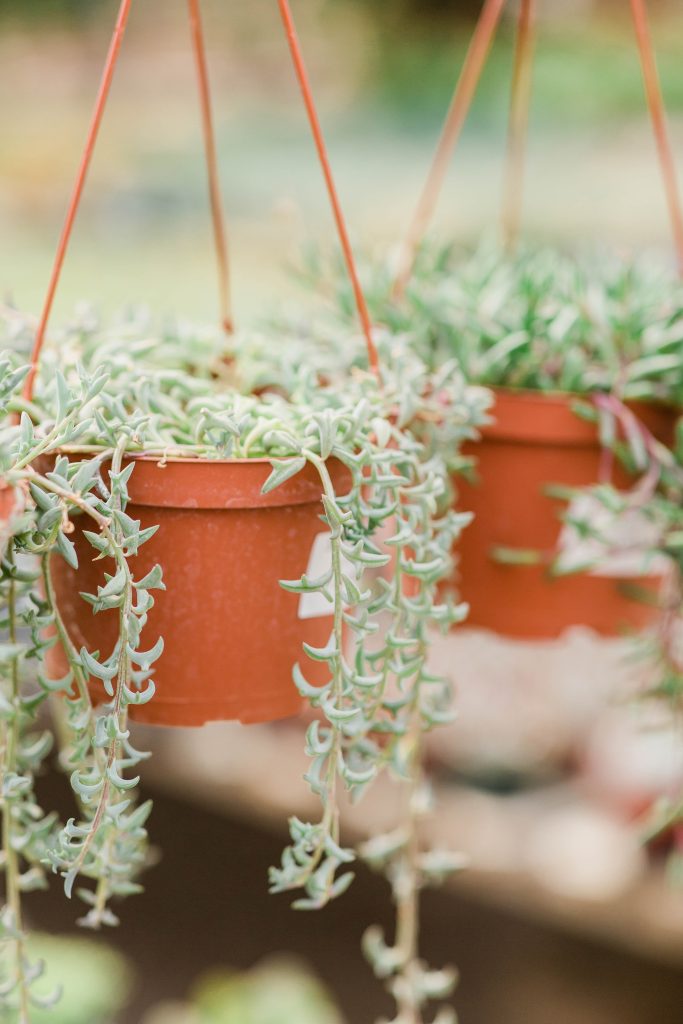
- Hanging planters: Small pots, jars, or even tin cans hung from hooks or a wooden frame.
- Wall pockets: Fabric or felt organizers with individual plant slots.
- Shelving: Repurposed ladders or bookshelves holding pots.
- Pallet gardens: Wooden pallets turned upright with soil pockets or containers attached.
- Trellises: For climbing plants like peas, beans, or flowering vines.
If you’re a beginner, start with a pallet or a wall pocket system. They’re budget-friendly, forgiving, and look great with minimal effort.
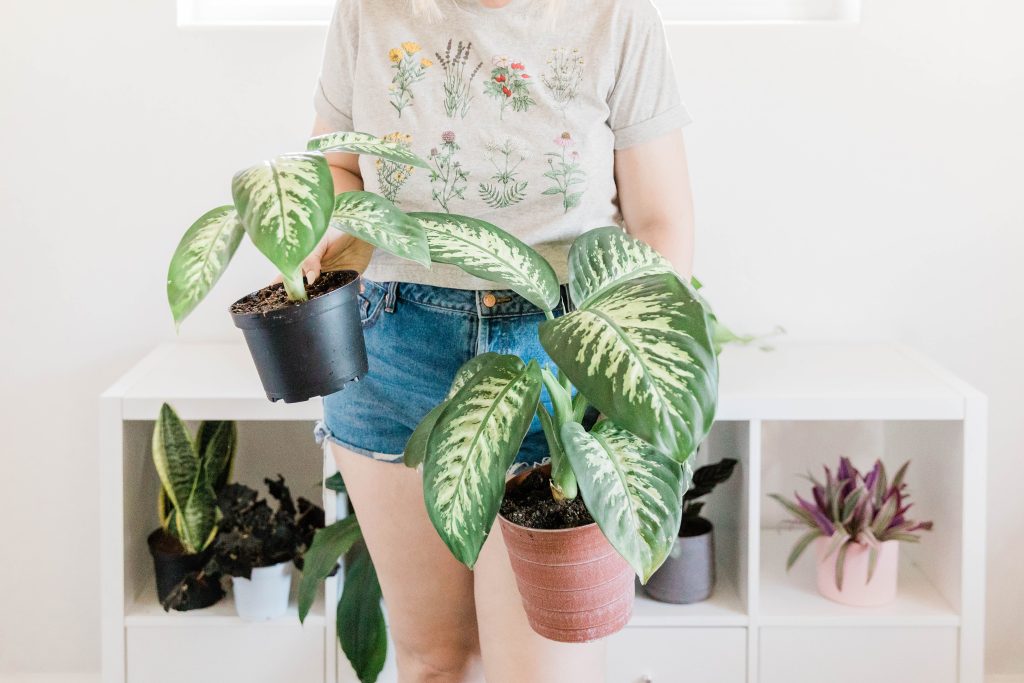
Step 3: Pick the Right Plants
Not all plants are happy in a vertical setup. Compact varieties do best since they won’t outgrow their containers.
Easy options include basil, mint, parsley, cilantro, and thyme for herbs; lettuce, spinach, and arugula for greens; strawberries, cherry tomatoes, and peppers for small fruits and veggies; and colorful flowers like nasturtiums or petunias for pops of color.
Step 4: Containers Matter
Your plants don’t care how trendy the pot looks if it doesn’t drain. Containers without drainage holes are a recipe for root rot. Go for terracotta pots, felt pockets, or even DIY options like tin cans or jars—just make sure you drill or poke a hole in the bottom.
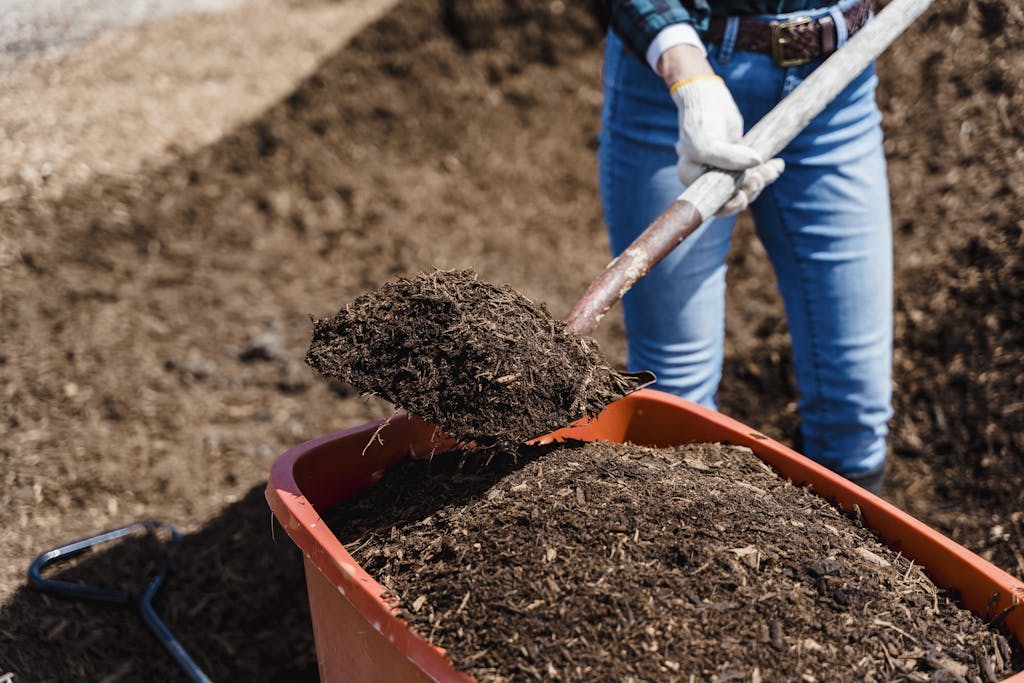
Step 5: Use the Right Soil
This is one of those details that makes or breaks your garden. Don’t use regular garden dirt. It’s too heavy and holds too much water. Instead, grab a potting mix made for containers or cacti. Add compost for nutrients and perlite or sand for drainage. Your plants will be healthier and your garden will look better for it.
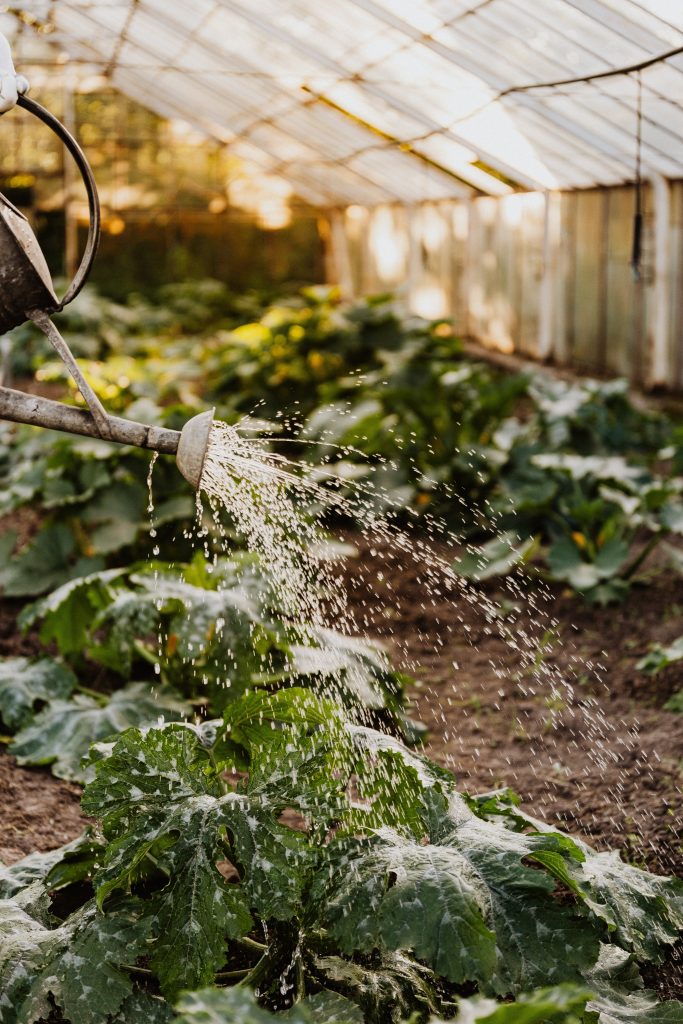
Step 6: Watering Without the Mess
Vertical gardens dry out faster than regular pots, and because they’re stacked, the top plants often need more while the bottom gets extra runoff. The solution? Water slowly from the top so moisture trickles down, or invest in a simple drip irrigation system if you want to make life easier.
And here’s the golden rule: don’t overwater. Let the soil dry between waterings. Herbs like basil will tell you they’re thirsty by drooping a little. Learn their signals, and you’ll be fine.
Step 7: Feed Your Plants
Container plants don’t have the endless nutrients that ground soil provides, so you’ll need to step in. During the growing season, use a diluted liquid fertilizer every 2–3 weeks. If you’re growing food, stick with organic options so your harvest is safe to eat.
Step 8: Keep Things Tidy
Vertical gardens can get crowded quickly. Herbs need regular trimming (which is perfect because you get to eat them), greens should be harvested before they bolt, and flowers benefit from deadheading. A little maintenance goes a long way in keeping your vertical wall lush instead of messy.
Step 9: Troubleshoot Early
Don’t panic if something looks off—it happens to everyone. Plants looking spindly? They need more light. Yellowing leaves? Likely overwatering or not enough nutrients. Fuzzy mildew? Increase air circulation and avoid wetting the leaves. The beauty of vertical gardening is you’ll notice issues quickly since your plants are right in front of you.
Step 10: Enjoy Your Living Wall
This is the best part. Your vertical garden isn’t just about growing food or flowers, it’s about creating a little oasis in the middle of your home. Imagine plucking fresh strawberries from your balcony wall, grabbing a handful of basil for your pasta, or sipping coffee next to a vertical jungle of greenery. It feels good, it looks good, and it makes small spaces come alive.
Common Questions Beginners Ask
Do vertical gardens actually work indoors? Absolutely. Just make sure you’ve got enough light—natural or from a grow light.
Are they expensive to set up? They can be, but they don’t have to be. Pallets, upcycled shelves, and DIY containers are budget-friendly options.
What’s the easiest plant to start with? Herbs like mint and basil. They grow fast, smell amazing, and give you a quick win.
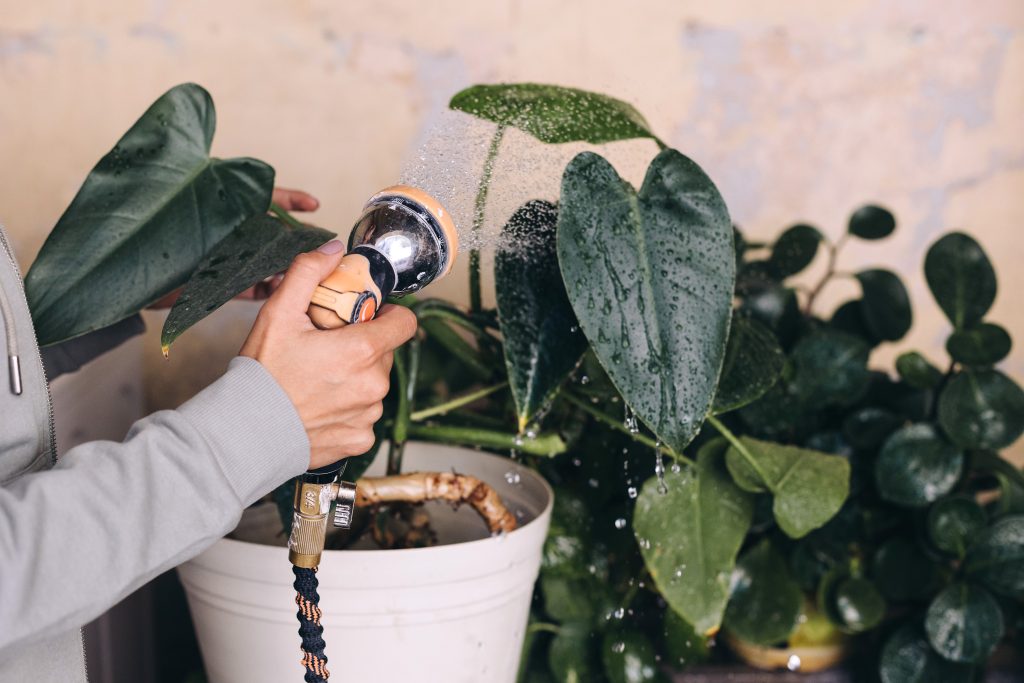
Do I need a special watering system? Not at all. A watering can works fine for small setups. Drip irrigation is just a nice upgrade if you scale up.
Wrapping It Up
I used to think gardening wasn’t possible in a small space, but vertical gardening flipped that belief upside down. Instead of cramming pots everywhere, I turned a blank wall into a living, breathing piece of décor. It’s proof that you don’t need a backyard to enjoy fresh food, colorful flowers, or a calming green corner.
Start small. Experiment. Build up. Before long, your vertical garden will feel like the most rewarding part of your home. And trust me—once you taste fresh herbs or strawberries you grew yourself, you’ll never want to go back to store-bought again.