Create Your First Compost Bin: No More Waste!
When I first heard about composting, I pictured some giant, messy pile of food scraps steaming away in a back corner of a farm.
Definitely not something I thought I could pull off in a small backyard. But here’s the truth composting isn’t just for homesteaders with acres of land. It’s one of the easiest, cheapest, and most satisfying ways to cut down on waste and make your garden thrive.
I still remember the first time I tossed veggie peels, coffee grounds, and old leaves into my DIY bin. A few months later, I scooped out rich, earthy compost that smelled like the forest floor after it rains. Magic? Nope— ust nature doing its thing. And the best part? My plants absolutely loved it.
If you’re tired of tossing scraps in the trash or buying overpriced bags of soil from the store, it’s time to create your first compost bin. Don’t worry—it’s simpler than it sounds. Here’s everything you need to know to get started.
Why Composting Is Worth It
Composting checks so many boxes it’s almost ridiculous.
- Cuts down waste: Up to 30% of household trash can actually be composted.
- Saves money: You’ll buy less fertilizer and fewer bags of soil.
- Feeds your garden: Compost is packed with nutrients that plants love.
- Helps the planet: Less food waste in landfills means less methane gas.
Basically, you’re taking things you already throw away and turning them into garden gold.
Step 1: Choose Your Compost Bin
You don’t need anything fancy to start composting. There are a few different setups you can choose from depending on your space and budget.
- Plastic storage bin: Drill a few air holes, and you’ve got a budget-friendly bin for small yards or balconies.
- Wooden compost bin: Sturdier, looks nice in a backyard, and can hold more material.
- Compost tumbler: Easy to turn and speeds up the breakdown process. A good option if you want faster compost and less effort.
- Wire or pallet enclosure: Great for larger gardens, basically just a framed-in pile.
If you’re brand new, start small—a plastic bin or tumbler is usually easiest.
Step 2: Pick a Spot
Location matters more than you think. Your compost bin should be somewhere with good drainage, partial shade, and easy access. If it’s too far away, you’ll hate hauling scraps to it. If it’s in full sun, it can dry out too fast.
Pro tip: put it near your garden if possible. That way you don’t have to lug finished compost across the yard.
Step 3: Learn the Brown + Green Rule
Here’s where most people overthink composting—but it’s actually simple. You need two types of materials:
- Browns (carbon): dry leaves, cardboard, paper, straw, wood chips.
- Greens (nitrogen): fruit peels, veggie scraps, coffee grounds, grass clippings.
The magic happens when you balance the two. Too many greens? It gets smelly and soggy. Too many browns? It breaks down slowly. A good rule of thumb is 2 parts browns to 1 part greens.
Step 4: Start Layering
Think of composting like building a lasagna. Start with a layer of browns on the bottom for airflow, then add greens, then more browns. Keep alternating. Every so often, give it a stir to mix everything up.
And no—you don’t need to add worms or special powders. The microbes in the air do all the work for you. Worms will probably show up naturally anyway.
Step 5: What Not to Compost
Here’s where new composters get tripped up. Some things don’t belong in your bin because they attract pests or don’t break down well. Avoid:
- Meat, dairy, or oily foods
- Pet waste
- Diseased plants
- Weeds with seeds
- Glossy or coated paper
Stick to simple yard waste and food scraps, and you’ll be golden.
Step 6: Keep It Moist (But Not Soaked)
Your compost should feel like a damp sponge. Too dry? Add water or more greens. Too wet? Add more browns. If it smells bad, it’s usually too wet and needs more dry material.
This is one of those things you’ll get a feel for as you go. Don’t stress—composting is very forgiving.
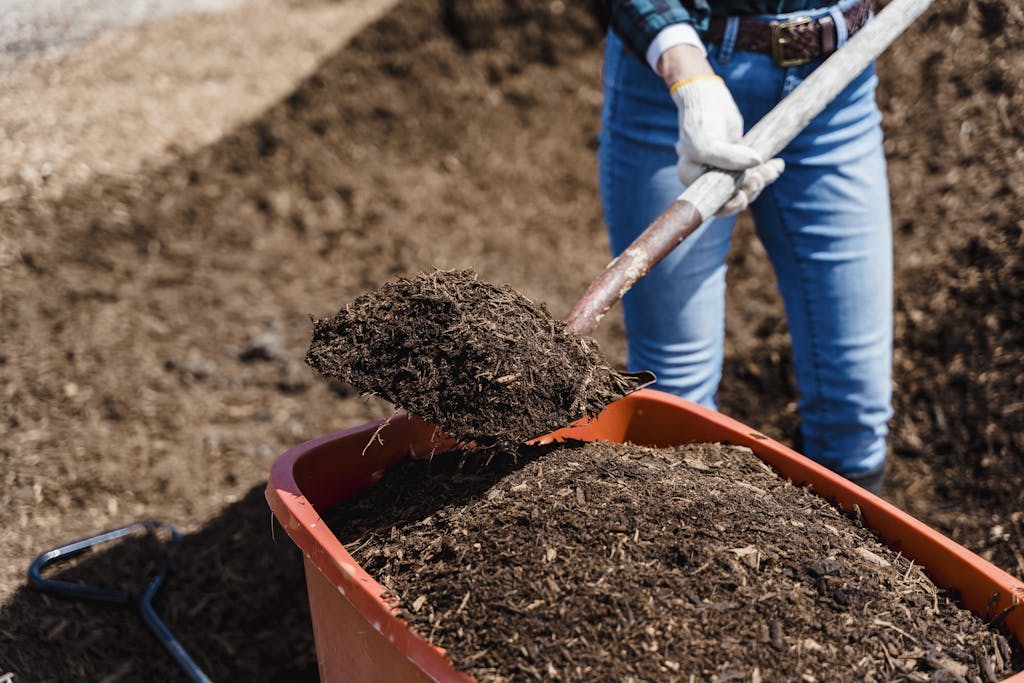
Step 7: Turn It Regularly
Airflow speeds everything up. Every week or two, give your pile a good stir with a shovel or pitchfork. If you’ve got a tumbler, just spin it. This keeps everything breaking down evenly and prevents smells.
Step 8: Be Patient
This is the hardest part. Compost isn’t instant—it usually takes 2–6 months depending on the setup, climate, and how often you turn it. The more consistent you are, the faster it goes.
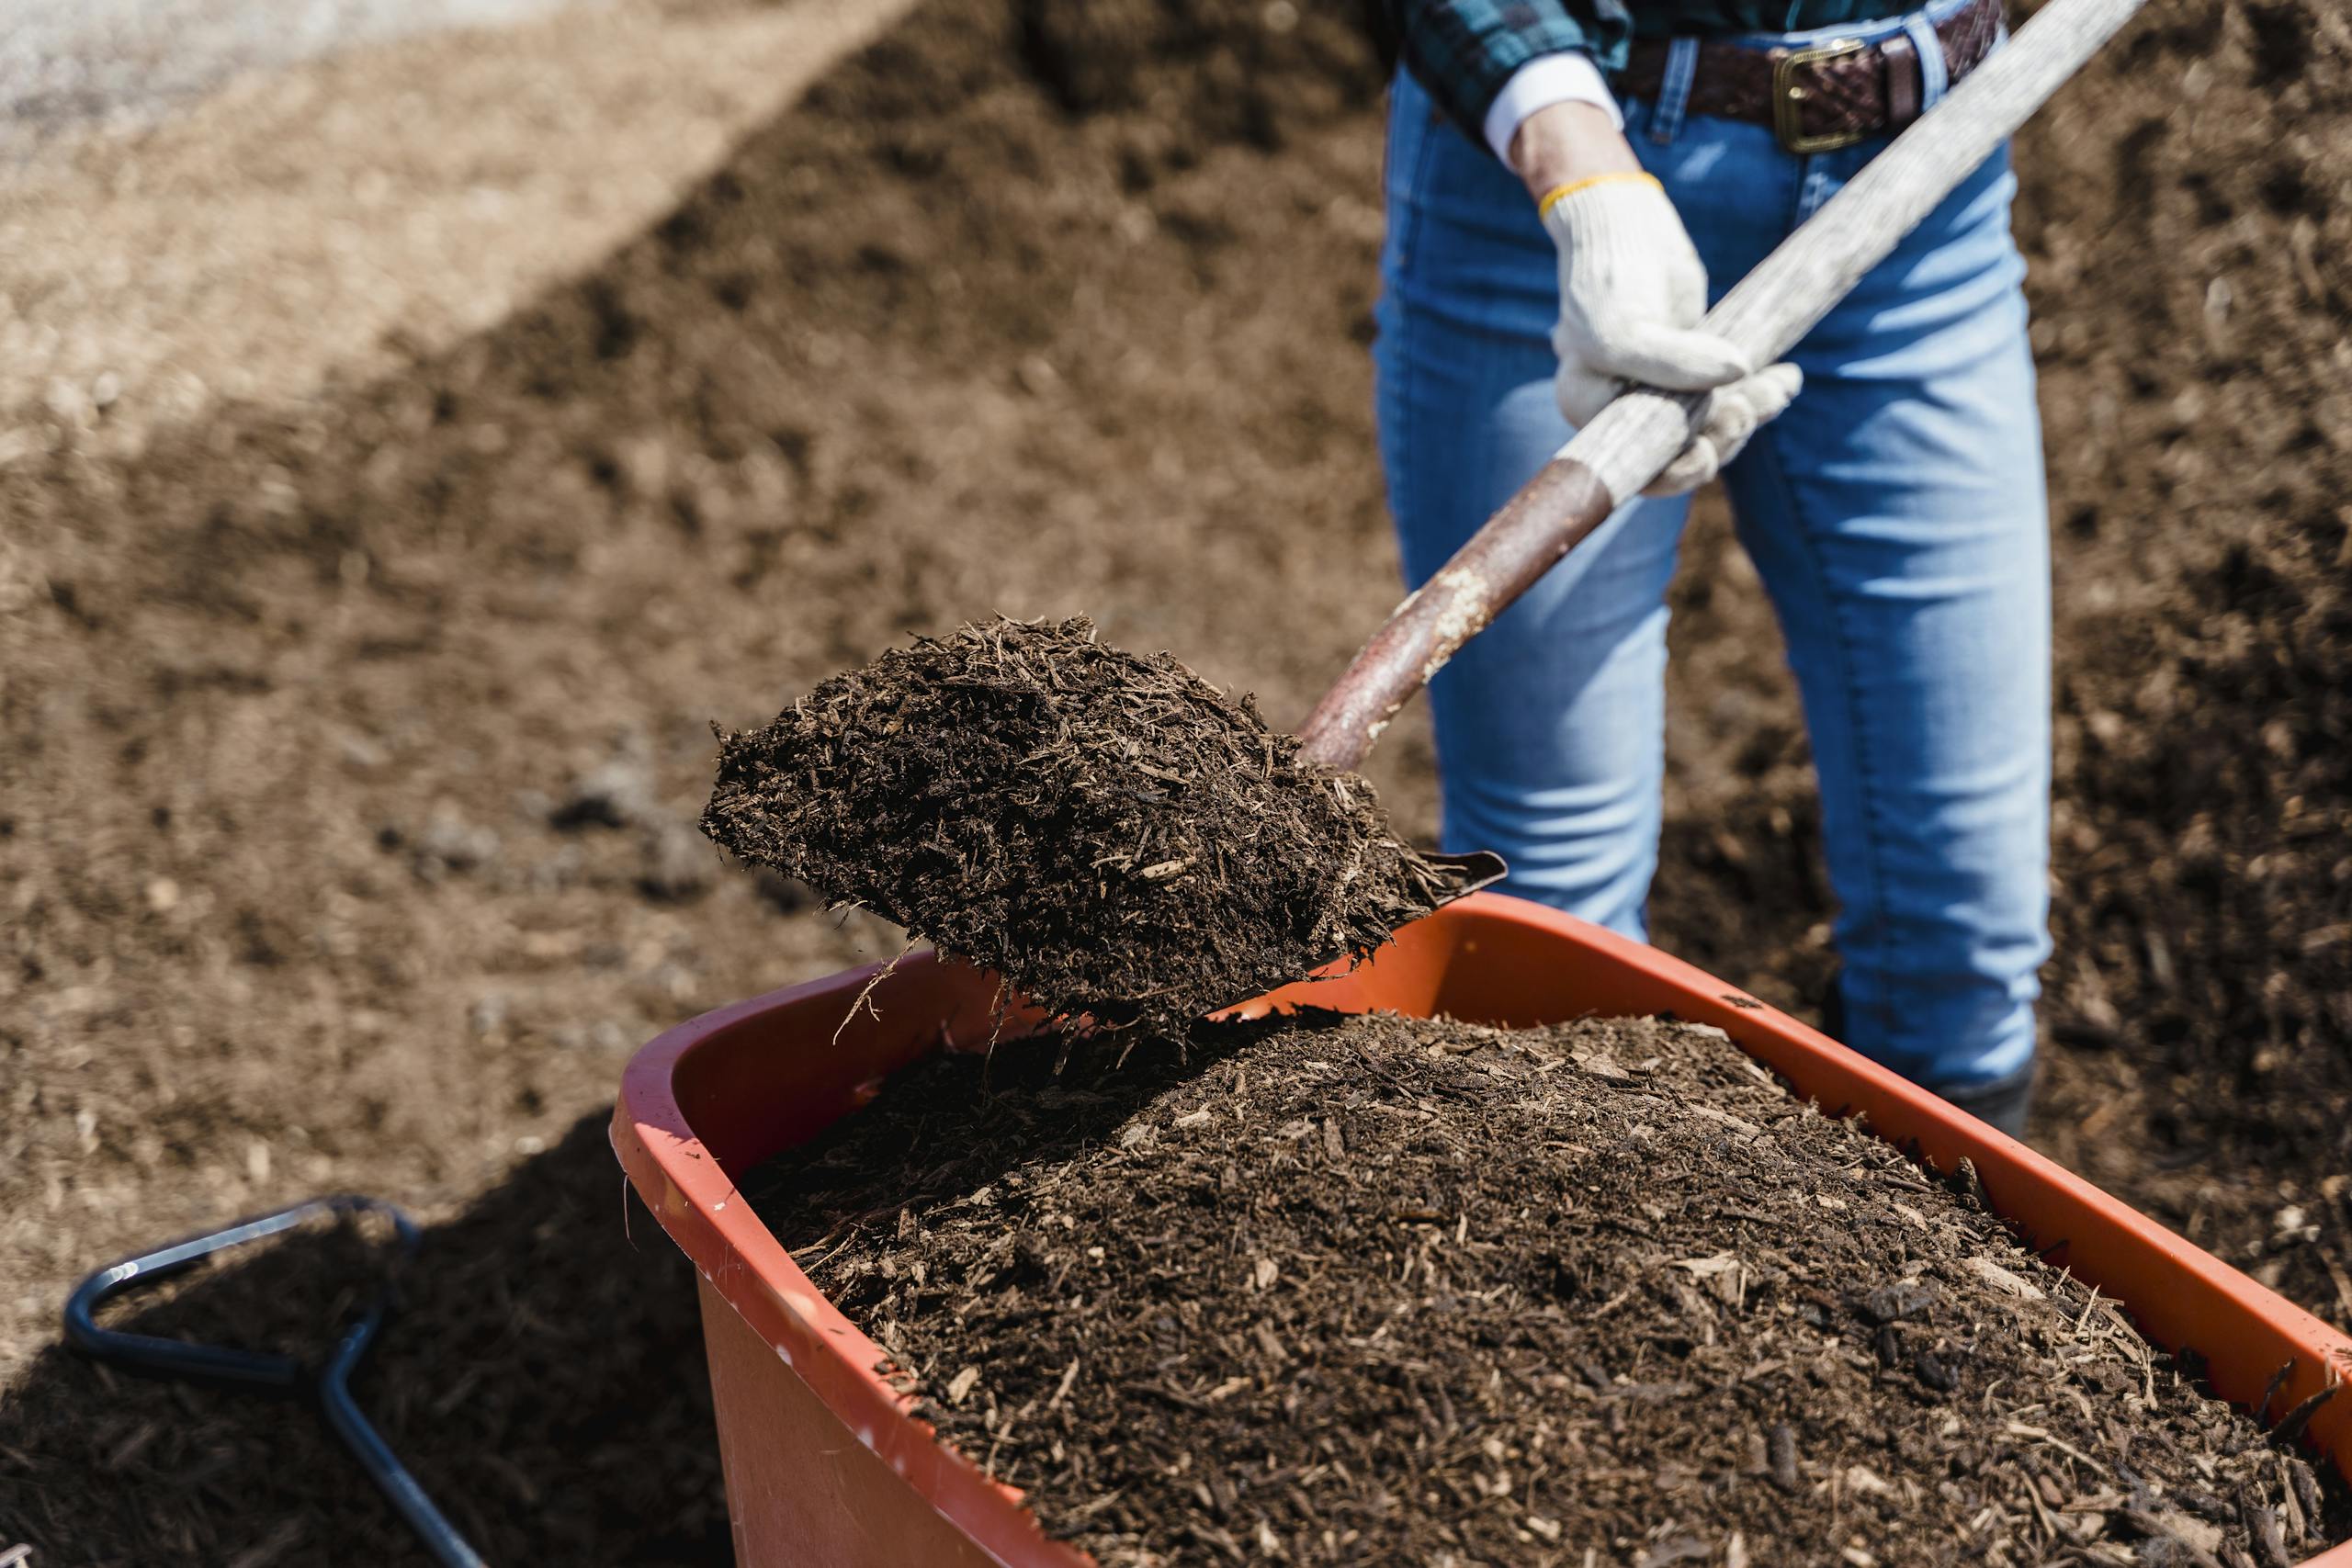
You’ll know it’s ready when it’s dark, crumbly, and smells earthy. No slimy bits, no chunks of recognizable food.
Step 9: Use Your Compost
Here’s the fun part, putting it to use. Mix compost into your garden soil, spread it as mulch around plants, or add it to potting mixes. It improves soil structure, boosts nutrients, and helps your plants grow stronger and healthier.
Trust me, your garden will notice the difference.
Step 10: Keep the Cycle Going
Once you’ve got your first batch, don’t stop. Keep adding scraps and leaves, keep turning, and your compost bin will keep producing year after year. It becomes second nature—like recycling, but way more rewarding.
Common Beginner Questions
Does compost smell bad?
Not if it’s balanced. If it stinks, add more browns and give it a stir. Finished compost should smell earthy, not gross.
Do I need worms?
Nope. They can help, but compost works fine without them.
Can I compost in the winter?
Yes, but it breaks down slower in the cold. Keep adding scraps, and it’ll pick up again in spring.
How long does it take to get compost?
On average, 3–6 months. Tumblers are faster, piles take a little longer.
Wrapping It Up
Composting might sound complicated at first, but once you start, it becomes second nature. You’re literally turning trash into treasure scraps that used to head to the landfill now become nutrient-rich soil for your plants.
Start with one bin. Keep the balance of greens and browns in mind. Stir it now and then. That’s it. No special equipment, no complicated steps. Just you, your food scraps, and a little patience.
And the first time you scoop out dark, crumbly compost and spread it around your plants, you’ll get it. You’ll see why gardeners swear by it and you’ll never look at kitchen scraps the same way again.