11 Unique DIY Garden Projects You Can Do This Weekend-Easy and Budget-Friendly Ideas
So, you wanna add some pizzazz to your garden this weekend, huh?
Look, whether you’re the neighborhood green thumb or still killin’ those dang succulents (I feel ya), I’ve got you covered with some DIY garden projects that’ll totally revamp your outdoor space.
Forget that boring, generic garden.
Allow me to present to you 11 fabulous DIY garden projects to try out this weekend. Don’t worry; I’m very inclusive – I’ve got options for every skill level, budget, and garden size. Tiny balcony or vast backyard.
Planning
Hold up! Before diving headfirst into those garden projects, there’s some planning to do. Trust me, just a little planning now will save you cash! later. Here’s what to keep in mind:
Dolla Dolla Bills, Y’all
Your budget, people! You need to know how much you can blow on this fabulous gardening makeover.
Jot down what you’ll need, like supplies and materials, and check their prices (a little online shopping never hurt anyone).
Oh, and don’t forget any tools you might need to buy or rent.
Picking the Perfect Project
We all want an Insta-worthy garden, but pick a project that’s in your wheelhouse. Don’t go wild with something super advanced or time-consuming.
If you’re a newbie or time-crunched. We all gotta start somewhere, right?
Consider Your Garden Space
Think about the space you have available in your garden. Will the project you’ve chosen fit in with the overall aesthetic of your garden? Make sure the project you choose is appropriate for the size and layout of your garden.
Gather Your Materials
Once you’ve chosen your project and determined your budget, it’s time to gather your materials. Make a list of everything you need and purchase or order them ahead of time. This will save you time and ensure you have everything you need on hand when you’re ready to start your project.
Set Aside Time
Finally, make sure you set aside enough time to complete your project. Don’t rush through it or try to squeeze it in between other tasks. Dedicate a weekend or a few evenings to your project, and take your time to ensure it’s done right.
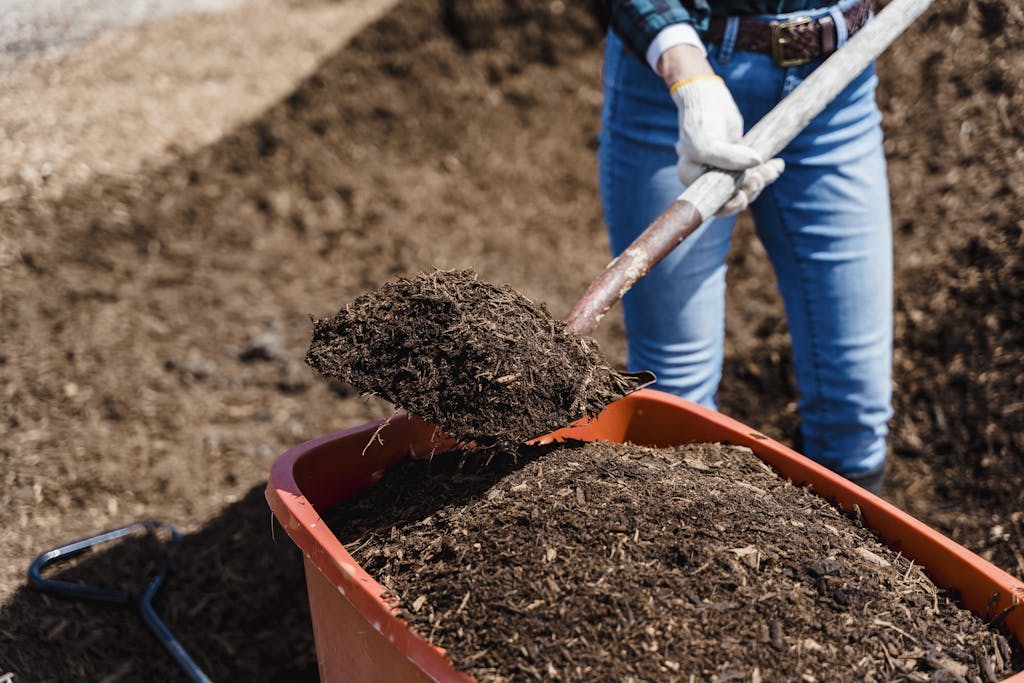
1.Creating a Rustic Look
If you want to add a touch of charm and character to your garden, consider creating a rustic look. This style is all about using natural materials and repurposing items to give them a new life. Here are a few ideas to get you started:
- Repurpose old items: Look for old items that you can repurpose into garden decor. For example, an old wheelbarrow can be turned into a planter, or an old ladder can be used as a trellis.
- Use natural materials: Incorporate natural materials like wood, stone, and metal into your garden decor. For a rustic look, choose materials that have a weathered or distressed appearance.
- Add woodworking projects: If you’re handy with woodworking, consider adding some DIY projects to your garden. You could build a rustic bench, a birdhouse, or even a set of garden tools.
- Incorporate vintage items: Vintage items can add a touch of nostalgia to your garden. Look for items like old watering cans, milk jugs, or even a vintage bicycle to use as decor.
- Use earthy colors: When choosing colors for your rustic garden, stick to earthy tones like brown, green, and beige. These colors will help create a natural and cohesive look.
2.Easy One Day Projects
If you’re looking for a quick and easy way to spruce up your garden this weekend, there are plenty of simple one-day projects that you can tackle. These projects are perfect for beginners or those with limited time, but they can still make a big impact on your outdoor space. Here are some ideas to get you started:
Create a Vertical Garden
A vertical garden is a great way to add some greenery to a small space. You can use a variety of materials to create your vertical garden, including pallets, gutters, and even shoe organizers. Simply attach your chosen material to a wall or fence, fill with soil, and plant your favorite herbs or flowers.
Build a Simple Bench
A bench is a great addition to any garden, and it’s easy to build one in just a few hours. All you need is a couple of boards and some screws, and you can create a sturdy and comfortable bench that will last for years.
Make a Bird Feeder
Birds are a great addition to any garden, and you can attract them with a simple DIY bird feeder. You can use a variety of materials to create your bird feeder, including old bottles, cups, and even teapots. Fill your feeder with seeds or suet, and watch as the birds flock to your garden.
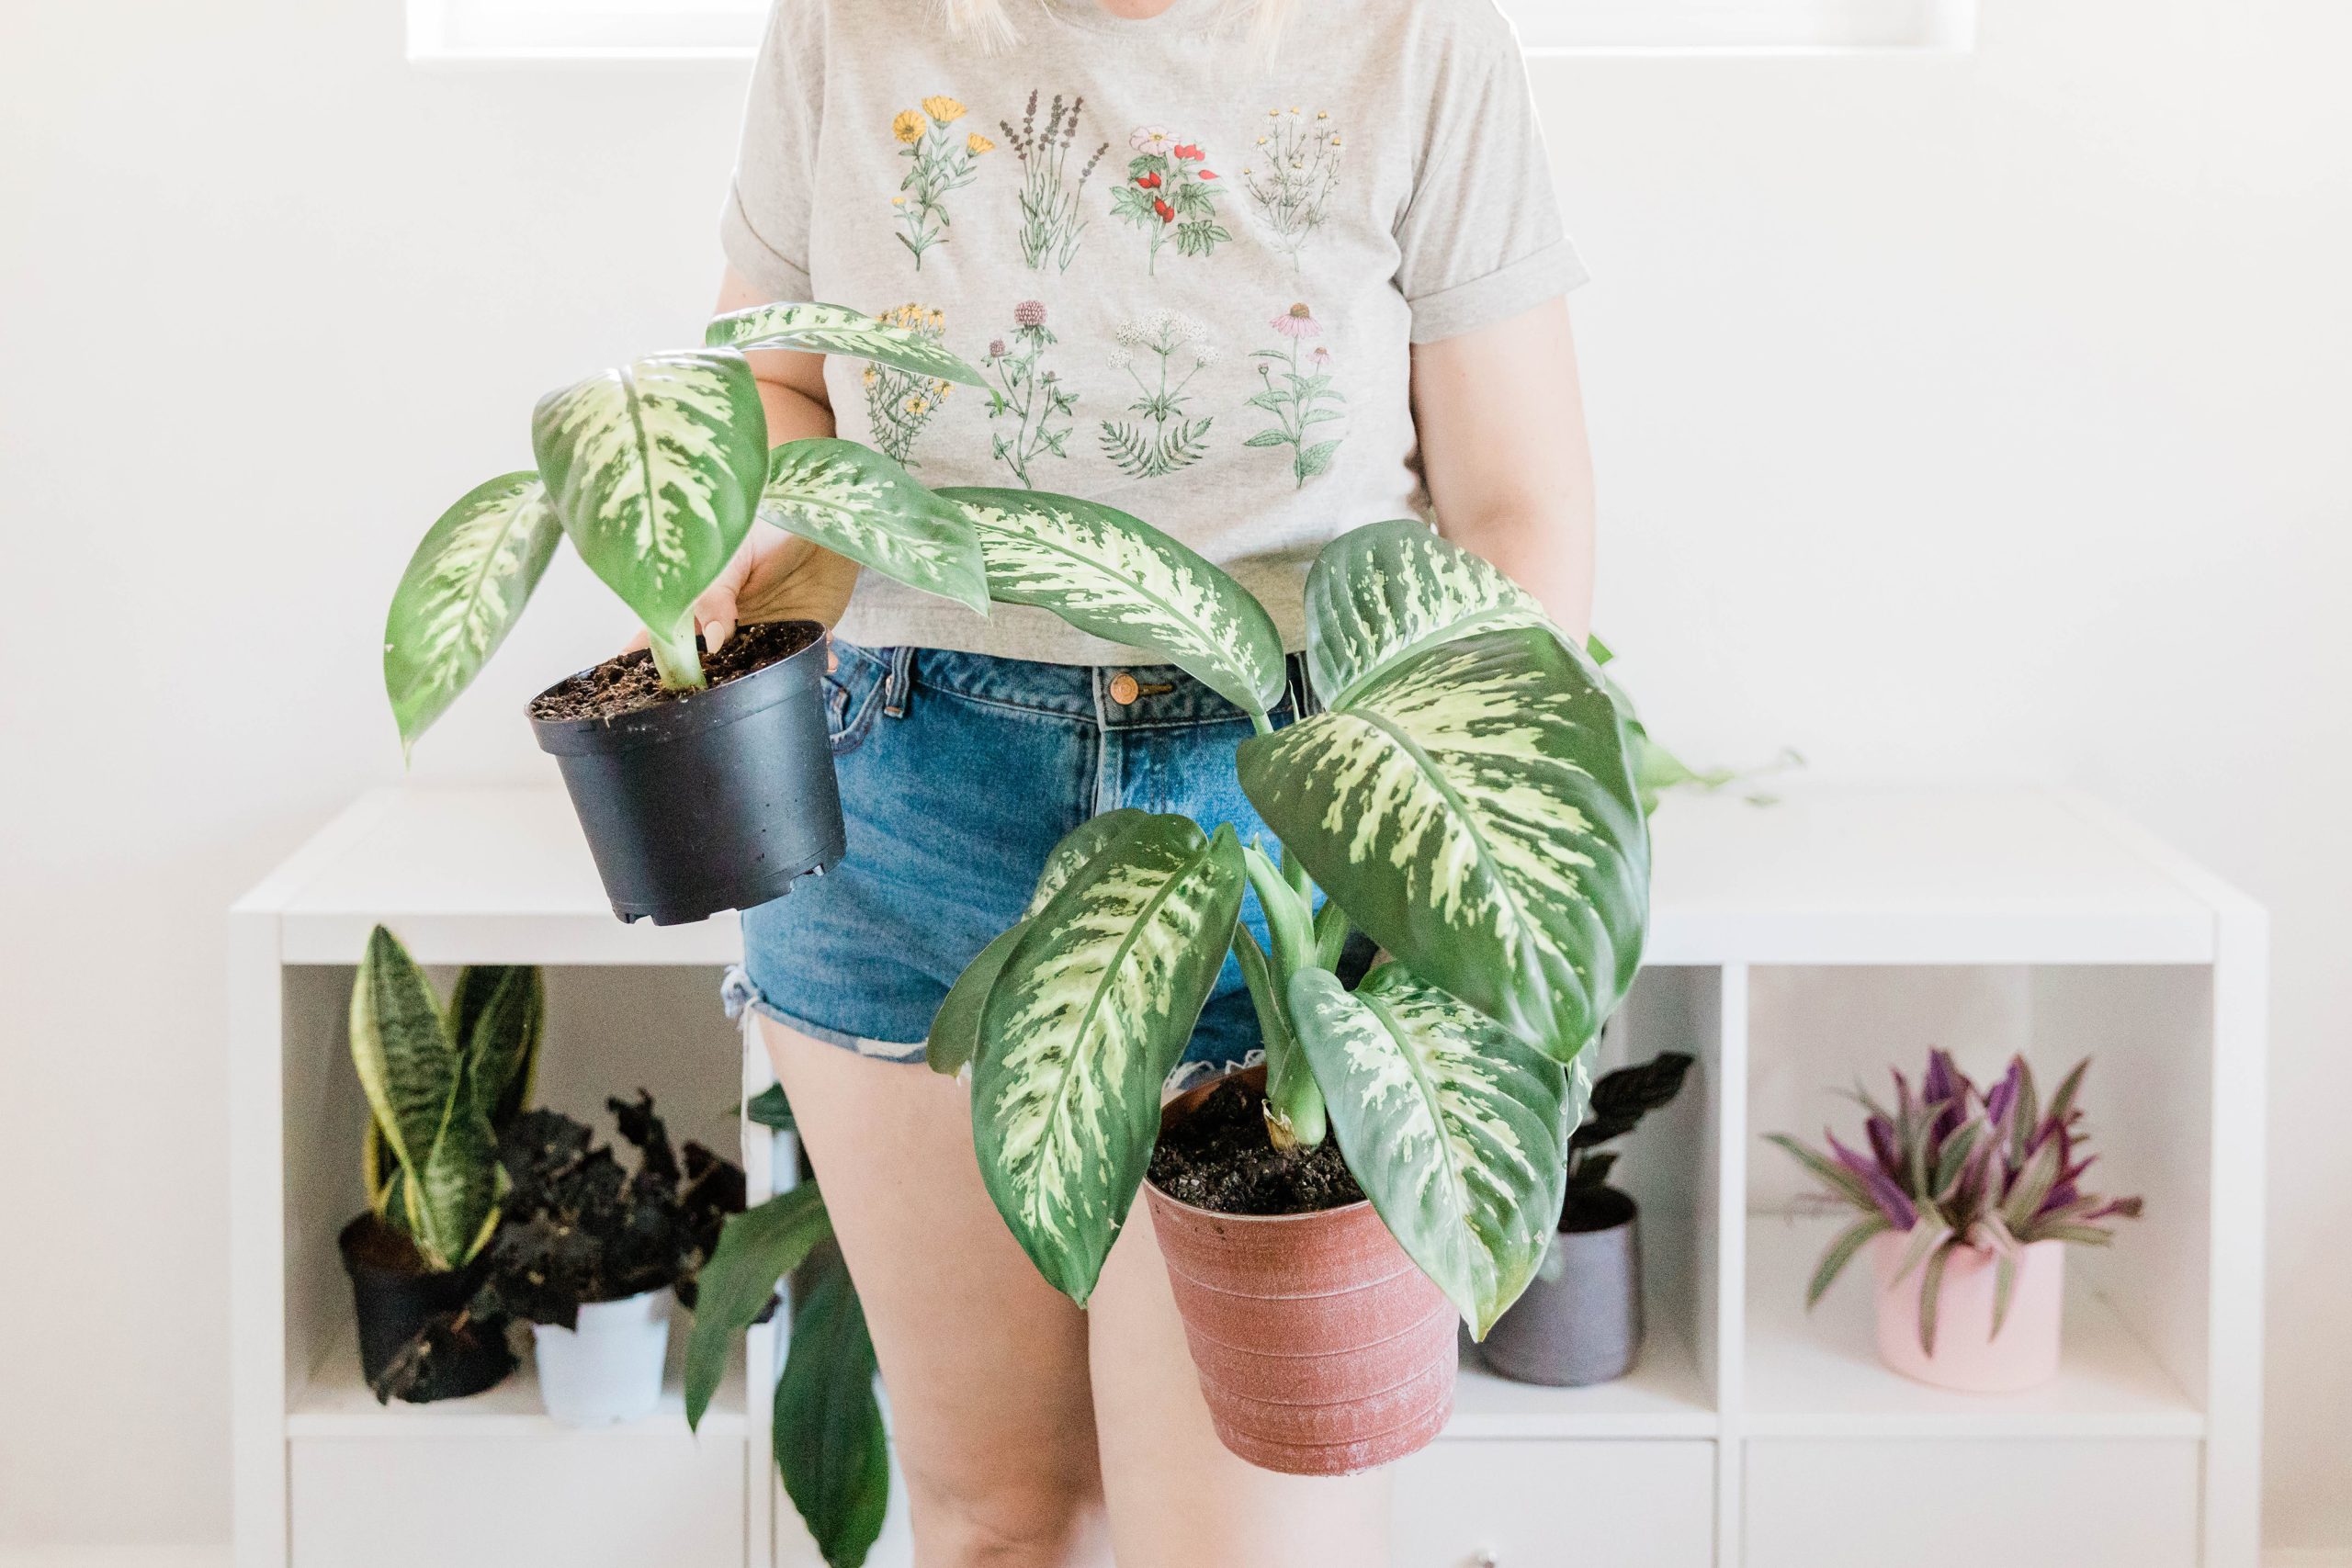
Paint Your Planters
If you have some old planters lying around, why not give them a fresh coat of paint? This is a quick and easy way to add some color to your garden, and you can use any color that you like. Just make sure to use a paint that is suitable for outdoor use, so that your planters will last for years to come.
Create a Fairy Garden
Fairy gardens are a fun and whimsical addition to any garden, and they’re easy to create in just one day. You can use a variety of materials to create your fairy garden, including stones, shells, and even old toys. Add some miniature plants and fairy figurines, and you’ll have a magical garden that will delight both kids and adults alike.
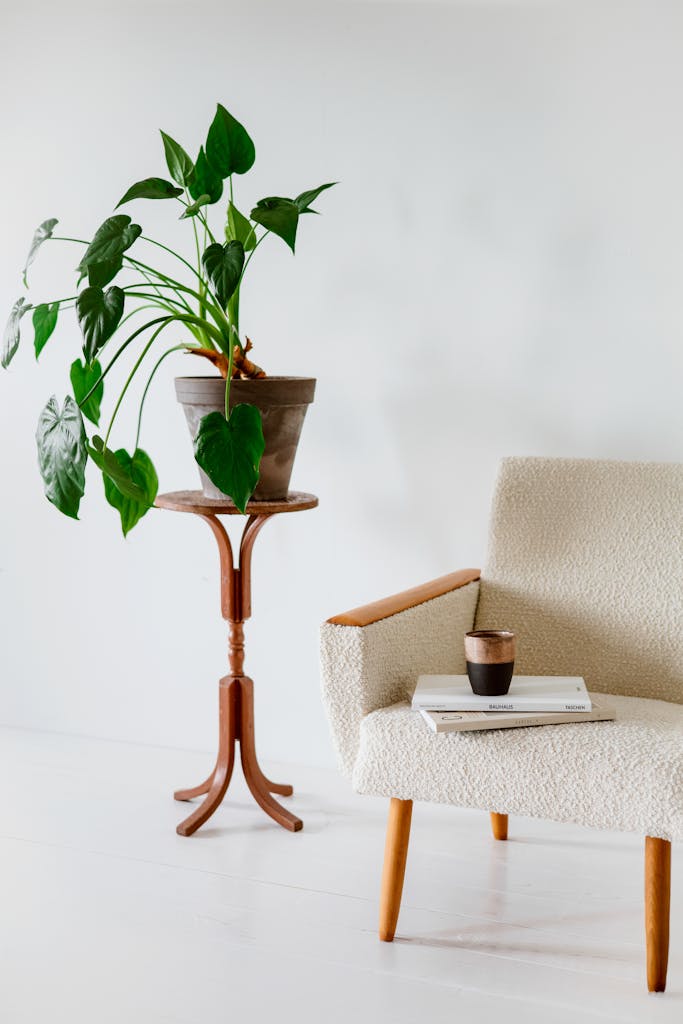
3.Repurposing Items for Planters
If you’re looking for a unique and cost-effective way to add some greenery to your garden, repurposing items as planters is a great option. Not only does it give new life to old items, but it also adds character and charm to your garden.
One popular item for repurposing as a planter is mason jars. These versatile jars can be used for a variety of plants, from small herbs to succulents. Simply drill a few small holes in the bottom for drainage, add some potting soil, and plant your desired greenery.
Another great option for repurposing as a planter is old tires. These can be stacked to create a unique planter tower, or simply painted and filled with soil for a more traditional look. Tires are also great for larger plants, such as small trees or shrubs.
If you have any old furniture lying around, such as a dresser or chest of drawers, you can also repurpose these as planters. Simply remove any drawers or shelves, add some soil, and plant away. This is a great option for larger plants or for creating a unique focal point in your garden.
Other items that can be repurposed as planters include teapots, watering cans, and even old boots or shoes. Get creative and see what unique items you can find to add some charm and personality to your garden.
Overall, repurposing items as planters is a fun and eco-friendly way to add some greenery to your garden. With a little creativity and some basic DIY skills, you can create unique and beautiful planters that will be the envy of all your neighbors.
4.Building a DIY Shed
If you’re looking to add some storage space to your backyard, building a DIY shed can be a fun and rewarding woodworking project. With the right tools and materials, you can create a sturdy and functional shed that meets your specific needs.
First, you’ll need to decide on the size and style of your shed. There are many different shed plans available online, ranging from small garden sheds to large storage sheds. Consider the amount of space you have available, as well as the types of items you’ll be storing in the shed.
Once you’ve chosen your shed plan, it’s time to gather your materials. You’ll need lumber, roofing materials, nails, screws, and other hardware. You may also want to invest in a set of plans or a shed building kit to make the process easier.
Before you start building, make sure you have all the necessary tools on hand. You’ll need a circular saw, drill, hammer, level, and other basic woodworking tools. You may also want to rent a nail gun or other power tools to speed up the process.
Once you have all your materials and tools, it’s time to start building. Follow your shed plan carefully, taking care to measure and cut your lumber accurately. Assemble the walls, roof, and other components, and attach them securely with nails and screws.
As you build your shed, be sure to check your work frequently to ensure everything is level and square. You may also want to add insulation or other features to make your shed more comfortable and functional.
Overall, building a DIY shed can be a challenging but rewarding woodworking project. With careful planning and attention to detail, you can create a beautiful and functional storage space that will last for years to come.
5.Making a Garden Bench
If you’re looking for a simple and practical DIY garden project, making a garden bench is an excellent choice. With a few basic tools and materials, you can create a stylish and functional seating area for your outdoor space. Here’s how to get started:
Materials
To make a garden bench, you’ll need the following materials:
- Wood planks (2×4 or 2×6)
- Screws
- Drill
- Saw
- Measuring tape
- Sandpaper
- Paint or stain (optional)
Steps
- Cut the wood planks to the desired length for the bench seat and legs. You’ll need two long pieces for the seat and four shorter pieces for the legs.
- Use the drill and screws to attach the legs to the seat. Make sure to pre-drill the holes to prevent the wood from splitting.
- Sand the bench to remove any rough edges or splinters. You can also round the corners for a more comfortable seating area.
- If desired, paint or stain the bench to protect the wood from weathering and add a pop of color to your garden.
Tips
- Consider adding a backrest or armrests to your bench for added comfort.
- Use pressure-treated wood or a weather-resistant finish to ensure your bench lasts for years to come.
- Experiment with different colors and finishes to match your garden’s style and décor.
6.Creating Raised Garden Beds
If you are looking to start a vegetable garden, raised garden beds are a great option. They offer many benefits, including better soil drainage, easier weed control, and improved accessibility. Plus, they can be a decorative addition to your yard.
Here are some steps to follow when creating raised garden beds:
- Choose a location: Select a spot that gets at least six hours of sunlight per day and has good soil drainage. Avoid areas with tree roots or underground utilities.
- Determine the size: Raised garden beds can be any size, but make sure you can easily reach the center from all sides. A width of 3-4 feet is ideal.
- Build the frame: Use rot-resistant wood, such as cedar or redwood, to build the frame. Cut the boards to the desired length and screw them together at the corners.
- Add soil: Fill the bed with a mixture of topsoil, compost, and peat moss. Aim for a depth of at least 6 inches.
- Plant your vegetables: Choose vegetables that grow well in your area and space them according to their recommended spacing.
Raised garden beds can be a fun and rewarding DIY project that can provide fresh vegetables for years to come.
7.Designing a DIY Trellis
When it comes to designing a DIY trellis, there are a few things to keep in mind. First, consider the type of plants you want to grow and the amount of support they will need. A tomato trellis will require a sturdier design than a trellis for climbing flowers.
Next, think about the materials you want to use. You can repurpose items like old windows or bike tires, or use traditional materials like wood or metal. Consider the aesthetic you want to achieve and the durability of the materials you choose.
Once you have an idea of the type of trellis you want to build and the materials you will use, it’s time to sketch out your design. You can use graph paper or a digital design tool to create a detailed plan. Be sure to include measurements and any special features like hooks or shelves.
When building your trellis, take your time and follow the design plan closely. Use sturdy hardware and secure all joints and connections. If you are using wood, consider treating it with a weather-resistant finish to ensure it lasts for years to come.
8.Making a Potting Bench
If you’re a gardening enthusiast, you know that having a potting bench is essential to make your gardening tasks easier and more organized. A potting bench can be used for a variety of tasks, including planting, repotting, and seed starting. With a few basic tools and materials, you can easily make your own potting bench this weekend.
When it comes to making a potting bench, there are many different designs and styles to choose from. You can make a simple bench with just a few shelves or a more elaborate one with drawers, cabinets, and even a sink. The key is to choose a design that fits your needs and the space you have available.
To make a basic potting bench, you’ll need the following materials:
- 2×4 lumber
- 1×4 lumber
- Plywood
- Screws
- Wood glue
You’ll also need some basic tools, including a circular saw, drill, and sander.
First, cut the 2×4 lumber to the desired length for the legs and frame of the bench. Cut the 1×4 lumber to size for the shelves and tabletop. Use wood glue and screws to attach the pieces together, making sure to pre-drill the holes to prevent splitting.
Once the frame is assembled, cut a piece of plywood to size for the tabletop. Sand the edges smooth and attach it to the frame with screws.
For added storage, you can add shelves or cabinets to the sides of the bench. You can also add hooks or hangers to hold tools and supplies.
When it comes to finishing your potting bench, you can paint or stain it to match your outdoor decor. You can also add a waterproof sealant to protect the wood from moisture.
Overall, making a potting bench is a fun and easy DIY project that can be completed in just a weekend. With a little creativity and some basic tools, you can create a functional and stylish bench that will make your gardening tasks a breeze.
9.Creating a Garden Path
A garden path is an essential element of any garden. It not only adds a decorative touch but also helps keep your garden organized. A well-designed garden path can enhance the beauty of your garden and make it more functional. Here are a few ideas for creating a garden path that you can try this weekend:
Stepping Stones
Stepping stones are a popular choice for creating a garden path. They are easy to install and come in a variety of materials such as concrete, natural stone, and pavers. You can choose stones that match the style of your garden and arrange them in a pattern that suits your taste.
To create a stepping stone path, you will need to:
- Choose the type of stones you want to use
- Decide on the pattern you want to create
- Dig a shallow trench for the stones
- Lay the stones in the trench
- Fill the gaps with sand or gravel
Gravel Path
A gravel path is another popular option for creating a garden path. It is easy to install and requires minimal maintenance. Gravel paths come in a variety of colors and sizes, allowing you to create a path that complements the style of your garden.
To create a gravel path, you will need to:
- Mark out the path you want to create
- Dig a shallow trench for the path
- Lay down landscape fabric to prevent weeds from growing
- Pour gravel onto the fabric
- Use a rake to spread the gravel evenly
- Compact the gravel with a tamper
Wood Chip Path
A wood chip path is a natural and affordable option for creating a garden path. It is easy to install and can be made from recycled materials. Wood chip paths are perfect for gardens with a rustic or natural style.
To create a wood chip path, you will need to:
- Mark out the path you want to create
- Dig a shallow trench for the path
- Lay down landscape fabric to prevent weeds from growing
- Pour wood chips onto the fabric
- Use a rake to spread the wood chips evenly
Creating a garden path can be a fun and rewarding DIY project. With a little bit of creativity, you can design a path that complements the style of your garden and enhances its functionality.
10.Building a Bug Hotel
If you’re looking for a fun DIY project that will also benefit your garden, consider building a bug hotel. Bug hotels, also known as insect hotels, are small structures that provide shelter and nesting places for a variety of insects, including bees, ladybugs, and butterflies. By building a bug hotel, you’ll be helping to support the local ecosystem and promoting biodiversity in your garden.
To build a bug hotel, you’ll need some basic materials, including untreated timber, bamboo canes, twigs, and stones. You can also use recycled materials, such as old plant pots and pieces of wood. The key is to create a structure with lots of nooks and crannies where insects can make their homes.
When choosing a location for your bug hotel, look for a spot that gets plenty of sunlight and is sheltered from the wind. You should also make sure that the hotel is raised off the ground, either on a post or attached to a tree. This will help to protect the insects from predators and keep them dry during wet weather.
Once you’ve built your bug hotel, you can start to attract insects by adding a variety of materials. For example, you can fill the hotel with hollow bamboo canes, which are perfect for solitary bees. You can also add twigs, stones, and pieces of bark to create different habitats for different insects. And don’t forget to include some nectar-rich flowers to attract butterflies and bees.
11.Building a Bird House
Building a bird house can be a fun and rewarding DIY garden project that you can easily complete in a weekend. Not only will it add a charming touch to your garden, but it will also provide a cozy home for your feathered friends.
Before you start building your bird house, it’s important to consider a few factors. First, decide what type of bird you want to attract. Different birds have different preferences for the size and shape of their homes. You can research online or consult a bird guidebook to determine the bird species in your area and their housing requirements.
Once you have chosen the bird you want to attract, you can select the appropriate bird house design. There are various DIY bird house plans available online, ranging from simple to complex. Make sure to choose a plan that fits your skill level and available tools.
When building your bird house, it’s important to use the right materials. Cedar, pine, and redwood are popular choices for their durability and resistance to decay. Avoid using pressure-treated wood or toxic materials that can harm birds.
To make your bird house attractive to birds, you can add a few features such as perches, ventilation, and drainage holes. Make sure to position the bird house in a safe and secure location, away from predators and harsh weather conditions.
Conclusion
So, there are tons of cool DIY garden projects you can tackle this weekend to seriously up your backyard game.
There’s something in this DIY list of magic just for you.
By putting your own spin on these projects, you’re not only adding some personal flair to your outdoor space, but also creating something pretty and functional.
You got this!